Saturday, April 6, 2013

Time And Relative Dimension in Cake

My best friend Alyssa is an amazing chef and can bake like a dream. I was pleased as punch when she texted me "So...I get a birthday cake, right?"  Her only request was Funfetti, and I'm not one to buy a box when I can make it from scratch, so...


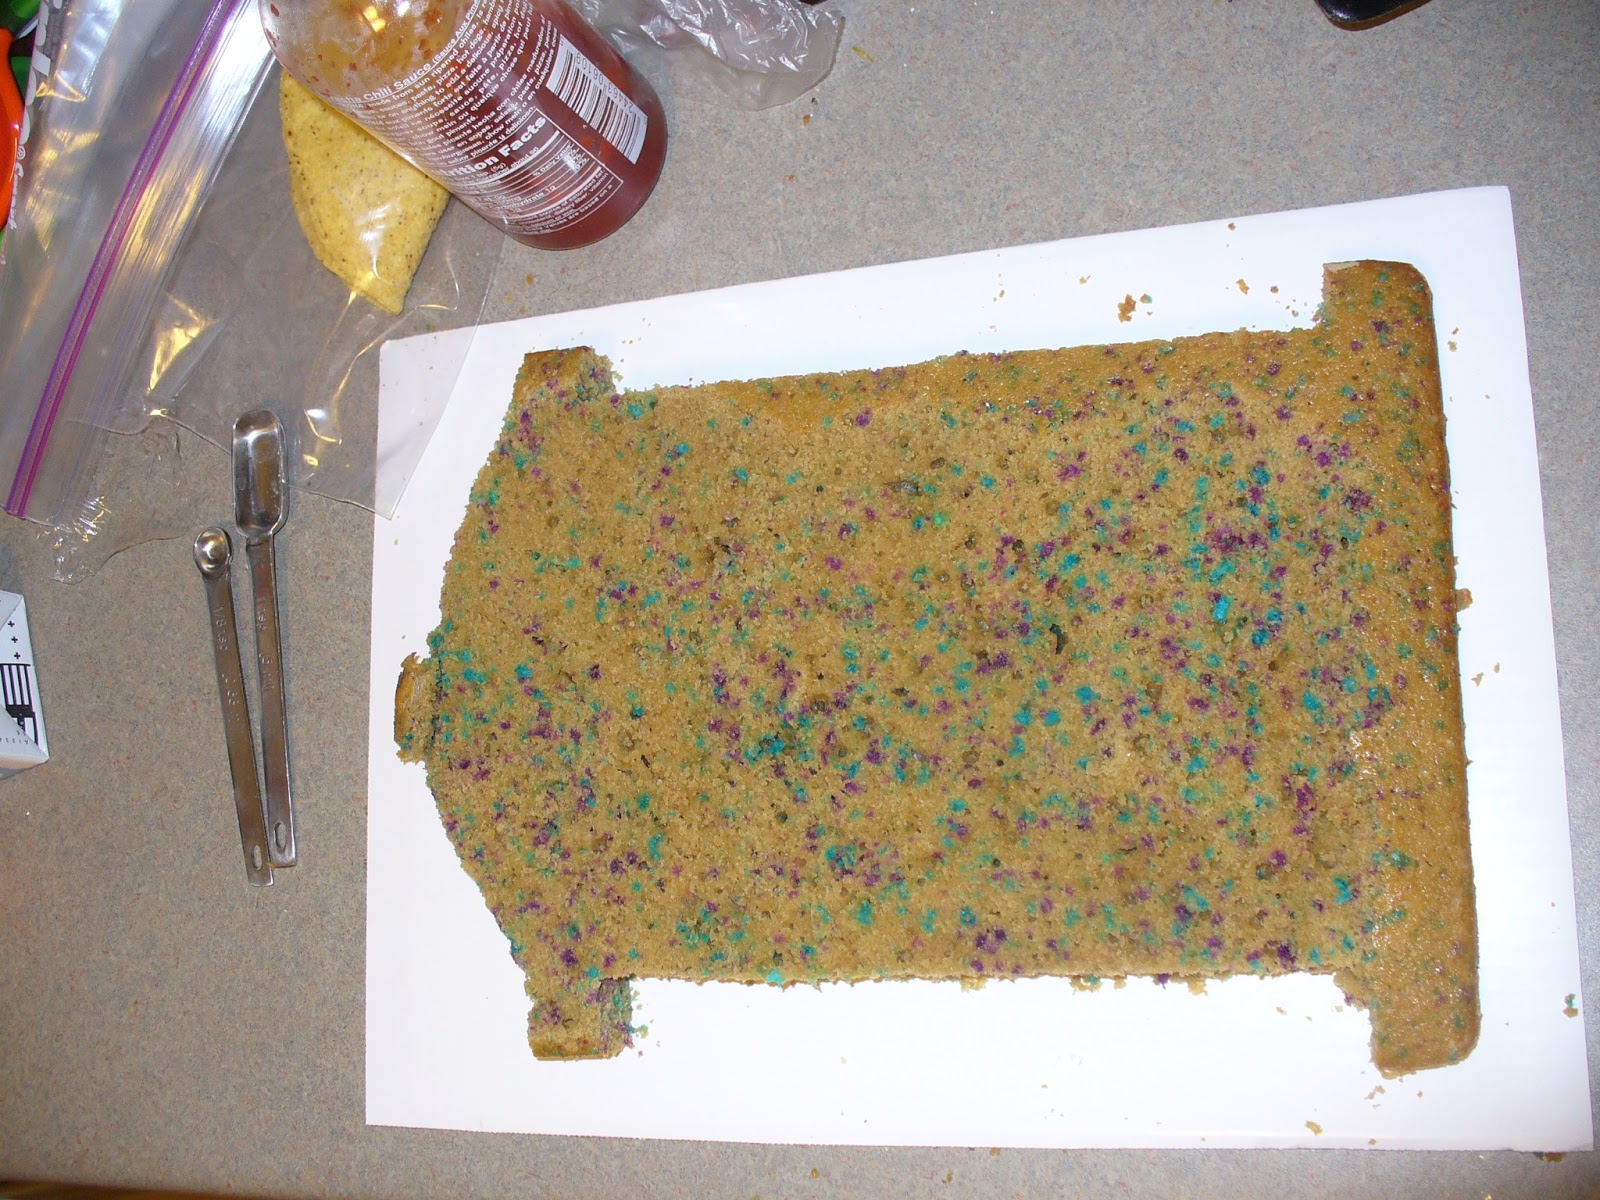
Andrew says "It looks like a fire hydrant."
Behold, the Wilton answer to Funfetti. Just one colorburst packet was about $3, so doing several colors would end up being a little pricey. I like the idea of using them for a sports team theme, though. No one expects color inside the cake!

Ganache to meet you. 
I highly prefer ganache to frosting, because it's fast and easy and tastes unbelievable. I had some issues with the white chocolate ganache. It probably wasn't the best idea to use shelf stable cream. Even if that was ok, regular old Nestle baking chips do not have the right properties for ganache. A failed batch and a little internet research taught me that baking chips are formulated to stay fairly chip-shaped throughout the baking process, meaning they don't really melt right. A trip to Byerly's for some Ghirardelli chips resulted in a much thicker (and actually useable) ganache.  

Blue box and some Black Box
A great deal of kneading and blue food coloring later, I had some fantastic TARDiS blue fondant. I worked some muscles I didn't even know I had getting it rolled out big and thin enough to cover the cake. I'm very proud of how smooth the fondant went on  - no cracks or bubbles! It's the first time I've done anything other than a round cake with fondant, too, so I'm very proud of all the corners and angles.

It's bigger on the inside.
The finished product, an adorable personalized Dr. Who cake, one day start to finish. Unless you count the dishes. They are not finished.
Tuesday, March 26, 2013

Work birthday - Austin

Austin's only request for his birthday cake was "chocolate". I was feeling uninspired this weekend, and not really up to decorating a cake, so I decided to do a simple cake that tasted really good. I made the Black Magic cake (which is quickly becoming my favorite chocolate cake recipe) and covered it with a simple ganache. I would like to take this time to say that I love ganache and I don't know why it took me so many years to try my hand at making it. I guess I assumed it was very complicated, what with the fancy name and all, but it's just chocolate and milk and makes the most wonderful coating ever. I had some mocha buttercream left over from Amy's birthday cake , so I used that for border and making little swirls for the raspberries to sit on. 
This cake was so good it's not even funny. I brought it in to work and set it on the prep table in the back of house. Austin was baking and doing dishes in back, and every time I'd go back to get something, another piece would be missing. I guess that means he liked it!

Saturday, March 16, 2013

Happy Birthstache!

My dear friend Amy loves mustaches, for some reason. I think deep in her heart, she wants to be a hipster. I found this cake on Pinterest and I knew what Amy was going to get for her birthday.


Friday, March 1, 2013

Water Lily Tutorial

I'm really pleased with how my water lily turned out, and I want to show you the process of how I made it.
Roll some gum paste between two quarter inch dowels and use the smallest blossom cutter to  get the right amount for your base. 

Make a teardrop shape from the portion of gum paste you just cut out. Put the base on a piece of very thick spaghetti.  (I forgot to color my gum paste for the first photo, so that step happened late.)

Use the calyx/star cutter to cut at least four star shapes from yellow gum paste rolled paper thin. 

Add the star shapes to the base using gum glue. 

You want the center to be spiky, so don't press the tips of the stars all the way onto the base.  Spiky spiky spiky!

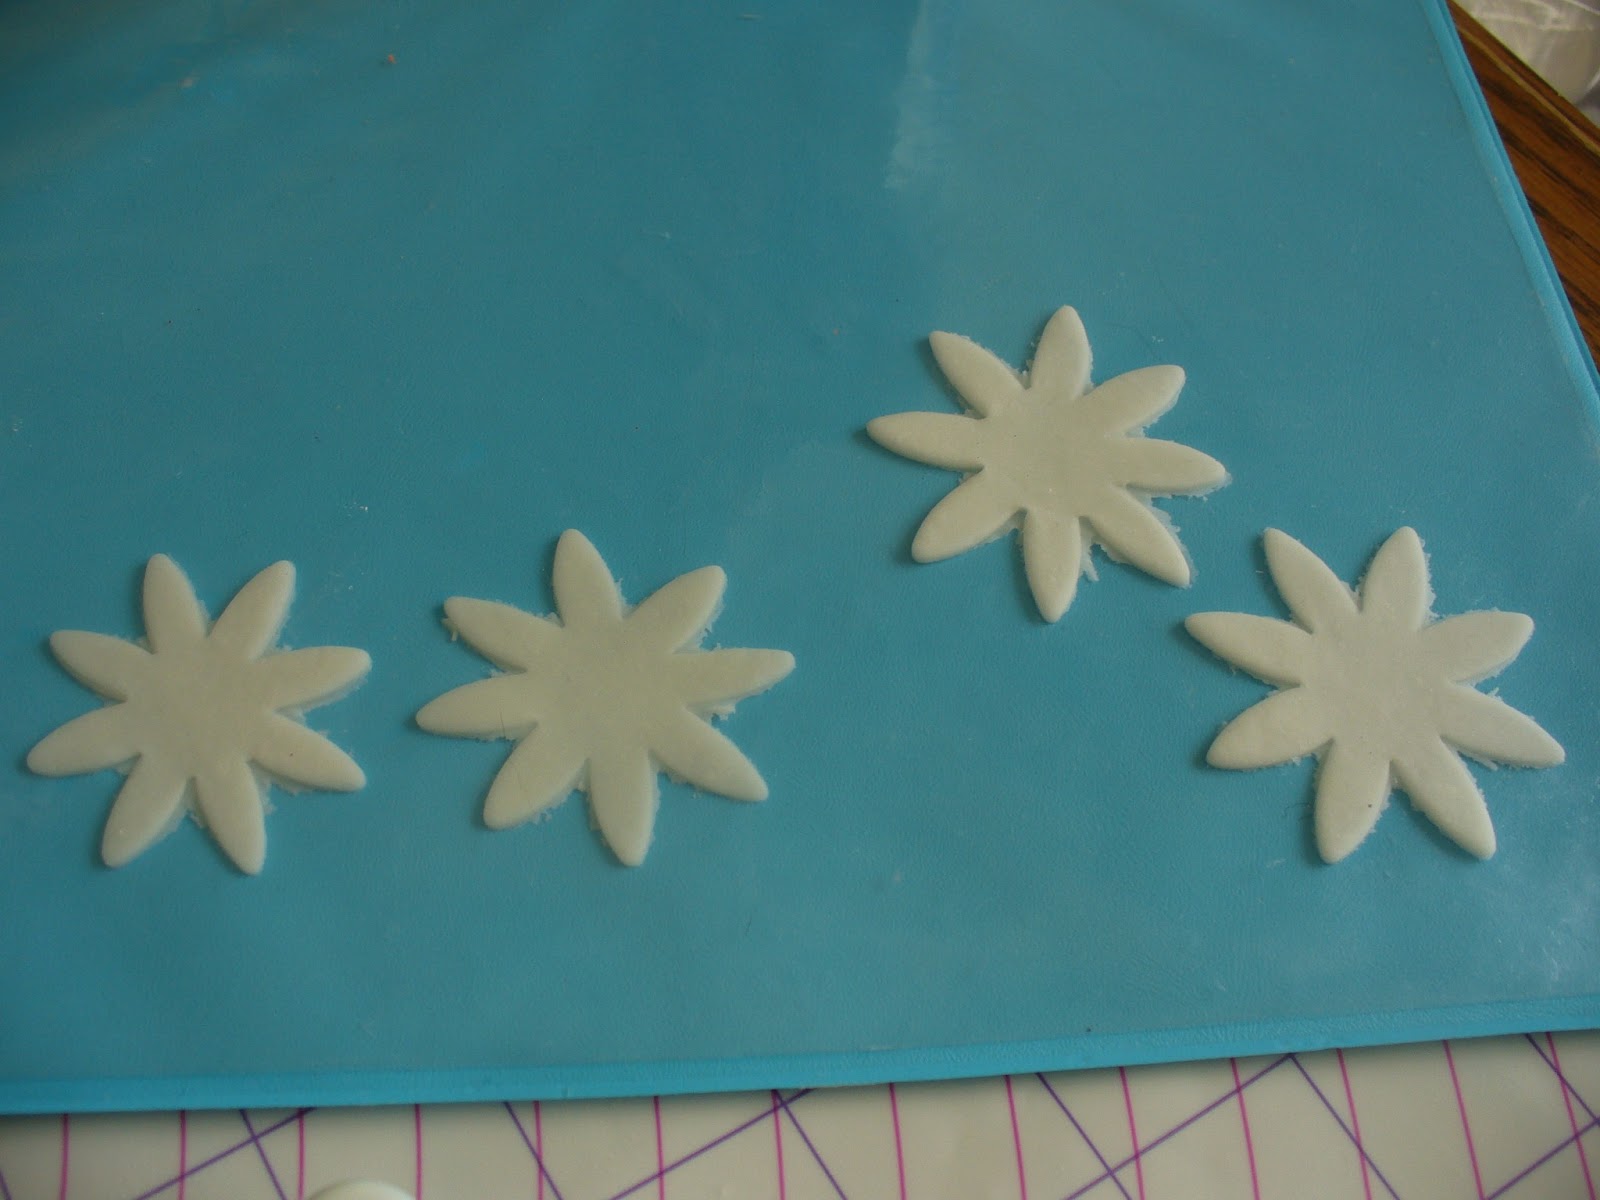
Using white gum paste, cut out two small and two large daisy  shapes. 

Curl the petals by gently pressing down and towards the center using the pencil tool. 

Brush a stripe of pink color dust in the center of each petal.

Starting with the small petals, use gum glue to attach the petals to the base. 

You can do more than four sets of petals, I just get bored easily. 

Use a large circle cutter to make your lily pad. Cut a section out and use the pointed end of the pencil tool to score the veins into the lily pad. Attach to the flower with gum glue. 

Completed water lily!

Cake Class 3.4


Class 3 is now over, sad day. The final class session was pretty much just covering the cake with fondant (kind of hard, my fondant ripped a little) and completing a final design. I made lots of lilies and mums for my final cake. I was tired and a little lazy when it came time to assemble, so I just laid them out in a circle instead of trying to arrange them naturally. While I like the uniform smooth look of fondant, it's kind of hard to attach decorations to. 


Thursday, February 21, 2013

Challenge accepted.

Large & Small daisy cutter, calyx cutter

Calyx cutter, large & small daisy cutter, large circle cutter

Cake Class 3.3: Even artichokes have hearts

Last night's class was pretty simple - two flowers using the same shaped cutters and the same techniques for shaping: the mum and the daisy. 
 The daisy is nice and easy, looks like a daisy without much effort. The mum is easy but takes a while because of all of the layers. However, look at that shape. In different colors, that could be a water lily, or an artichoke. Seriously, someone's getting a cake with artichokes on it soon.
Also, I knocked out some lilies over the weekend to prepare for my final class project. Not pictured are the paper cones I made to form them when I couldn't find cone shaped paper cups anywhere.